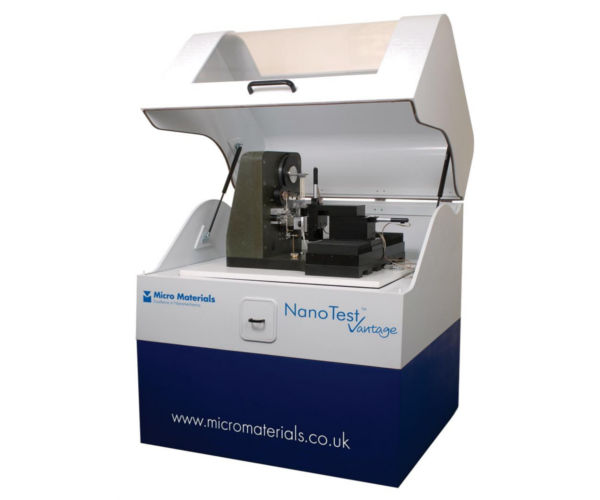
Nano Test Vantage


The NanoTest Vantage System offers a complete picture of material performance by providing the full range of nano-mechanical and nano-tribology test methods including nano-scratch, nano wear-testing, nano-indentation, etc. It has the industry leading controlled environment capabilities to assess true ‘in service’ properties as it is important to know material performance in real working condition. It also has a unique high temperature stage to perform nano-mechanical testing process at temperatures of up to 850°C.

REQUEST A QUOTE
Nano Test Vantage

  • Excellent low load data - making the NanoTest one of the most sensitive systems on the market.
  • Both targeted area specific and multiple indentation modes available.
  • Indentation mapping - helping you to visualise your results.
  • Easy probe change - no recalibration required
  • High level of automation enabling prolonged, unsupervised test periods.
  • Space to mount large and small samples, or even real components.
  • Non-destructive nature allows pre-testing before the components go into service.
  • Both ISO 14577 and ASTM 2546 compliant for complete confidence in your results for a wide range of industries.
  • System lifelong after sales support right around the world, with direct access to our expert engineering team.
  • Low thermal drift through a dedicated environmental enclosure with active heating and high thermal mass of the NanoTest system.
  • Software updates from the user support area on our website.

Nanoindentation For measuring hardness, modulus, visco-elastic behavior and study of variation of hardness and modulus with depth. It allows mapping of mechanical properties across an area of interest.
Micro Indentation The 30 N high load head greatly expands the capability of the NanoTest Vantage to cover both the nano and micro ranges. The high load head can be used for Micro-indentation / Micro-hardness, Micro-impact and fatigues, Micro scratch and wear
Nano-scratch and wear For access of critical scratch loads and friction properties, investigate cycles to failure for wear prediction.
Nano-impact and fatigue For study of fracture and fatigue behavior, to measure material damping coefficients and investigate high strain rate behavior.
Nano-fretting For accelerated reciprocating wear test and high cycle investigation (up to 1 million cycles)
High Temperature This option allows (1) Nanoindentation (2) Nano-Scratch & Wear (3) Nano-Impact & Fatigue to be performed at temperatures of up to 850 ºC.
Imaging NanoTest system is supplied with a multiple objective microscope, and can have the options of In-Situ 3D profiler / Nanopositioning stage and AFM.
Liquid Cell This allows Nanoindentation, Nano-scratch & Wear testing of samples fully immersed in liquid.
Humidity Cell This allows the study on how the mechanical properties of materials are affected by humidity

TOP