
Hardness Tester Products
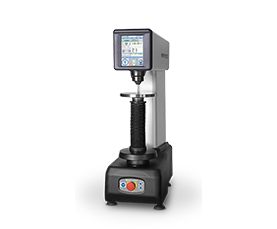
Rockwell Hardness Tester
As defined in ISO 6508 & ASTM E-18, is the most commonly used hardness test method. The Rockwell test is generally easier to perform, and quicker than other types of hardness testing methods. The Rockwell method measures the permanent depth of indentation produced by a force/load on an indenter.
MODEL : FENIX 200 AR, FENIX 200 ACL, NEXUS 605RS, NEXUS 610RS, VERZUS 710RS
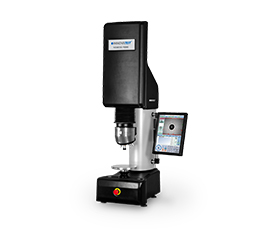
Vickers Hardness Tester
The Vickers hardness test method consists of indenting the test material with a diamond indenter, in the form of a right pyramid with a square base and an angle of 136 degrees between opposite faces subjected to a load of 1g to 100 Kgf.
MODEL : FALCON 400, FALCON 450, FALCON 500, FALCON 600, FALCON 5000
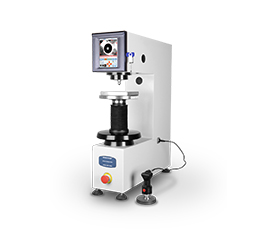
Brinell Hardness Tester
Brinell hardness test method is most commonly used to test materials that have a structure that is too coarse or that have a surface that is too rough to be tested using another test method, e.g., castings and forgings. Brinell testing often use a very high test load (3000 Kgf) and a 10mm ball indenter so that the resulting indentation averages out most surface and sub-surface inconsistencies.
MODEL : NEXUS 3001 Series , NEXUS 3200 Series, NEXUS 3001XLM-IMP
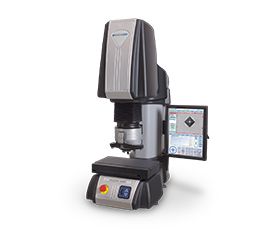
Universal Hardness Tester
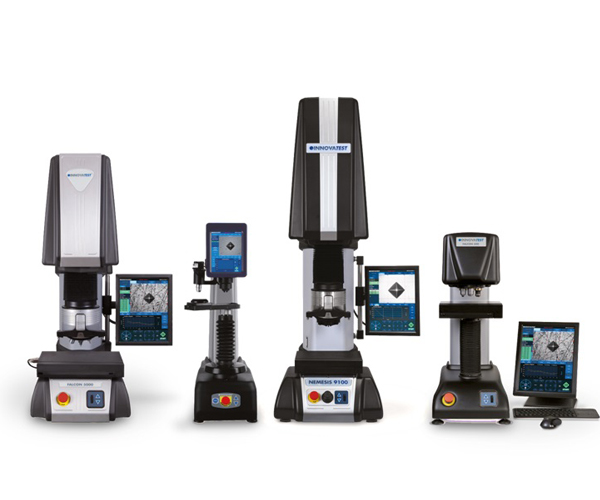
Universal hardness testers are in fact hybrid instruments allowing the user to make Rockwell, Vickers and Brinell hardness tests according to the applicable ISO, ASTM and JIS standards, with one single machine.
Universal hardness testers do not convert hardness values but apply tests according to standard procedures.
MODEL : Verzus 750CCD , NEXUS 7501, NEMESIS 9100 Series, NEMESIS 9800 Series
Portable Hardness Tester
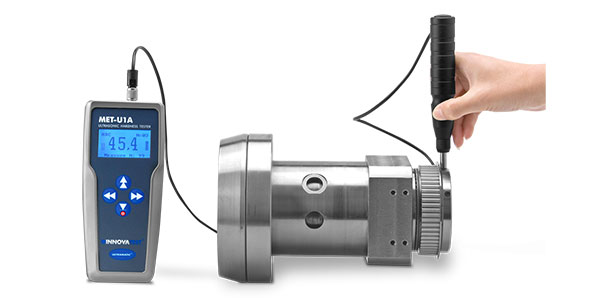
Most common testing methods are the Leeb hardness, rebound technology, or the UCI ultrasonic hardness test.
While the rebound technology conforms to the ASTM and DIN standards, UCI offers the advantage of being more suitable for light weighted and thin components. Barcol and Webster are based on impressing the material with a sharp indenter.
MODEL : Ultrasonic
